
The shift from traditional subtractive manufacturing (cutting material away) to additive manufacturing (building up material layer by layer) is one of the biggest industrial revolutions of our time. At the heart of this change are industrial 3D printers, which are high-precision, robust machines designed for end-use production and functional prototyping.
While there are many different 3D printing technologies—each using different materials like powder, filament, or liquid resin—the core process for all industrial 3D printer systems involves a fundamental four-step workflow, followed by specific postprocessing based on the technology used.
Phase 1: The Digital Blueprint
Every physical part begins as a digital design, making this the critical first step in how industrial 3D printers work.
Phase 2: Layer-by-Layer Fabrication
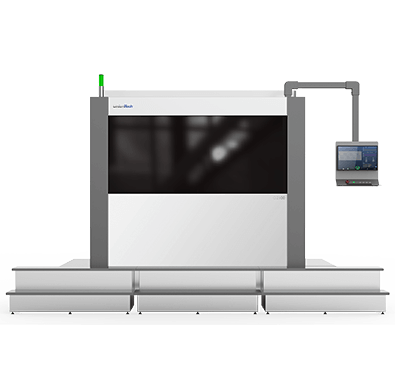
The true function of an industrial 3D printer is the controlled solidification of raw material based on the G-code instructions. The method of solidification defines the specific type of technology being used. As an experienced industrial 3D printer manufacturer, UnionTech specializes in two primary categories of high-precision photo-polymerization: Stereolithography (SLA) and Digital Light Processing (DLP).
Stereolithography (SLA): SLA, the oldest form of 3D printing, is a highly precise method that uses a UV laser to selectively cure liquid resin.
Material: Liquid photosensitive resin (photopolymer).
Process: The build platform is submerged just below the surface of a vat of liquid resin. A precise UV laser beam, guided by a system of high-speed galvanometers, traces the pattern of the first layer onto the resin surface. The UV light causes the liquid resin to instantly cure and solidify.
Layering: Once the layer is complete, the platform is lowered by one layer thickness (which can be as fine as 0.05 mm on systems like the UnionTech Pilot series), a recoater blade sweeps across the surface to spread a fresh, uniform layer of liquid resin, and the laser cures the next cross-section, bonding it firmly to the layer below. This process repeats until the part is finished.
Digital Light Processing (DLP): DLP is a fast, high-resolution method that cures an entire layer simultaneously using a projector.
Material: Liquid photosensitive resin.
Process: Unlike SLA’s single-point laser, DLP uses a digital projector (like the industrial 3d printer manufacturer UnionTech’s 4K optical engine) to flash the UV light pattern of the entire layer all at once.
Layering: Because a whole layer is solidified in a single pass, DLP is significantly faster than laser-based SLA, particularly when printing multiple parts or large-area parts. The build platform raises/lowers, and the process is repeated until the object is complete.
Regardless of the technology, the entire construction phase is fully automated and enclosed within a precisely controlled environment to maintain optimal temperature and humidity, ensuring dimensional accuracy and part quality.
Phase 3: PostProcessing and Finalization
Once the industrial 3D printer completes the build, the part is still considered “green” and requires several essential postprocessing steps to achieve its final strength and finish.
Conclusion
The operation of industrial 3D printers is a sophisticated fusion of digital design, advanced optics, and precision mechanics. Beginning with a meticulously prepared digital model, these systems execute a complex process of building physical objects layer by layer, primarily through the controlled curing of photopolymer resins, as demonstrated by leading industrial 3d printer manufacturer technologies like those from UnionTech. This ability to translate digital data into physical reality with extreme precision is what makes industrial 3D printer technology an indispensable tool for modern production.


