Even experienced users and advanced 3D printers occasionally run into failed prints. One small setting error can turn a one-hour print into wasted material. That is why 3D printing troubleshooting is not about restarting the machine, but about identifying the failure point.
According to troubleshooting data from thousands of real print cases, surface roughness, warping and curling, under-curing, and layer shifting remain among the most frequently reported 3D printing issues.
For resin-based SLA 3D printing, many failures can also be traced to several repeatable checkpoints: resin condition, liquid level stability, recoater or scraper movement, Z-axis motion, laser power, optical cleanliness, and support design.
The good news is that nearly all common problems with 3D printers are diagnosable. This guide covers practical 3D printing troubleshooting steps, why they happen, and how to fix them.
Failures in additive manufacturing rarely stem from a single source. Problems with 3D generally fall into four categories:
For SLA printers, hardware checks should include the Z-axis, balance block, guide rails, scrapers, mesh board, vacuum adsorption system, liquid level sensor, and overall machine leveling.
Optical hardware is equally important. If the laser output is unstable, the light spot is abnormal, or the optical path is misaligned, the printer may produce weak layers, missing details, inconsistent curing, or inaccurate dimensions.
Software settings translate a 3D model into instructions for the printer.
In SLA workflows, users should check whether the preprocessing data is correct, whether the process package matches the selected resin, whether supports are missing, and whether the print can be simulated correctly in software before production.
Software print records are useful for diagnosing hidden issues. By checking the printing folder, operators can confirm whether the liquid level fluctuated during printing, whether the scraper moved correctly, and whether the Z-axis movement matched the expected layer step.
The quality of your materials determines the structural integrity of the part. For SLA printing, material troubleshooting should focus on resin viscosity, resin contamination, expired or poorly mixed resin, and residue in the resin tank. If resin becomes too viscous, recoating becomes slower and less uniform. If resin is contaminated by dust, cured debris, alcohol, or old material, it can cause surface defects, poor curing, or random print failure.
3D printing materials are sensitive to their surroundings. Ambient temperature, high humidity, and airflow can cause plastic to contract too quickly. These conditions often trigger warping, poor adhesion, and layer inconsistency.
For SLA equipment, a stable printing environment is around 25°C with humidity below 40%. The printer should also be kept away from alcohol cleaning equipment.
Now, let’s break down the most common 3D printing challenges.
The first layer is the foundation of the entire print. If the plastic does not bond to the build plate, the part will eventually detach and turn into a mess.
Cause:
Prints fail to stick to the bed primarily due to five factors: surface contamination from uncured resin debris, missing support structures for overhangs, poor model orientation causing inadequate bed contact, incorrect exposure times causing under-curing, and dirty build plates or resin vats that prevent reliable material adhesion.
Solution:
To prevent prints from detaching, ensure regular cleaning of the resin vat and build platform. Generate proper support structures for overhangs during slicing, and optimize model orientation for better contact. Additionally, calibrate exposure times to guarantee adequate curing, and maintain or replace aged build plates.
Stringing appears as thin resin trails or uncured connections between structures. It reduces surface quality and may affect fine details.
Cause:
This issue appears when resin flow is uneven, the scraper is dirty, the resin is too viscous, or the leveling time is too short. If resin cannot settle evenly before the next exposure, small trails, blobs, or rough regions may appear around details.
Solution:
To fix this, reduce lift speed and add a short delay between layers. Also, clean the scraper blade and check whether cured resin has accumulated inside the scraper. If the scraper is very dirty, remove it and clean the blade carefully. If the scraper observation window shows no resin, check whether the scraper contacts the resin surface, whether the vacuum pump is working, whether the tube is blocked, and whether the vacuum box is cracked or leaking.
Plus, if resin viscosity is high, increase the leveling time or replace/add fresh resin according to the material condition.
Layer shifting occurs when printed layers are offset from their intended position, creating a stepped or skewed model.
Cause:
The cause is usually mechanical instability, such as loose Z-axis screws, Z-axis step loss, scraper movement errors, poor lubrication, or scraper jamming. These issues can often be identified by checking software print records and comparing the expected Z-axis step with the actual recorded movement.
Solution:
The solution is to tighten the Z-axis assembly, remove cured resin from the scraper guide rail, and clean and lubricate the linear guide rails. After lubrication, move the sliding parts manually to distribute grease evenly, then check whether the mounting bolts are loose.
Mechanical symptoms should be corrected before slicing parameters are changed.
Under-curing refers to resin layers not fully solidifying, resulting in weak or soft parts.
Cause:
This happens when exposure time is too low, UV light intensity decreases, or resin composition is not compatible with current settings.
Other common causes include abnormal light spot size, dirty optical windows, contaminated field lens or galvanometer protection window, and incorrect process package.
Solution:
To solve this, increase exposure time gradually and use validated resin profiles for your machine.
Confirm whether the lasers are operating normally. If there is no light output, check whether the shutter is open and whether the laser and galvanometer are powered on. If light is present but curing is still weak, check whether the laser hits the center of the power detector, whether the detector lens is fogged, and whether the optical components are clean.
Optical cleaning should be done with a lint-free cloth and optical-grade acetone or anhydrous ethanol, wiping gently in one direction only. Avoid pressing hard on lenses, touching lens edges, or scratching the optical surface.
Over-curing occurs when too much light exposure causes loss of detail and dimensional accuracy.
Cause:
It is caused by excessive exposure time or strong light intensity. Fine features are often affected first.
In SLA printing, over-curing can also be related to incorrect light spot compensation, mismatched process settings, or support/entity parameters that make features too hard or oversized. Wall thickness deviation is a useful signal: if measured walls are thicker or thinner than the target, the light spot compensation value may need to be reviewed.
Solution:
Reduce exposure time step by step and optimize slicing parameters.
For dimensional issues, print a 150 mm calibration test piece and adjust the X/Y scale coefficient based on the measured result. For wall thickness deviation, review the light spot compensation value instead of changing the whole model size. This helps maintain both overall dimensions and fine feature accuracy.
Warping happens when the corners of the print lift and bend upward away from the build plate. It affects dimensional accuracy and surface quality.
Cause:
Warping may come from poor support strength, too few supports on the bottom area, wrong part orientation, long cleaning soak time, high temperature, uneven placement during curing, etc. H-shaped structures, thin plates, and broad flat parts are especially prone to shrinkage deformation.
Solution:
For bottom deformation, avoid soaking parts too long during cleaning. Place parts flat during curing and keep the force distribution even.
Add stronger block-style supports at corners and bottom edges, change the part angle to reduce stress concentration, and strengthen the support structure where the part tends to curl.
This issue occurs when resin does not solidify in certain areas or the entire print fails to form.
Cause:
Common causes include UV light failure and damaged vat film that blocks proper exposure. Sometimes, incorrect slicing also contributes.
Partial failure may be caused by the laser/scanner not starting, a laser power detection error, a dirty power detector window, an incorrect fixed laser power value, a liquid level fluctuation, a vacuum adsorption failure, or an unstable resin supply in the scraper.
Solution:
Test UV output, replace or filter resin, and inspect the vat film for scratches or clouding.
Also, simulate the job in software to confirm that supports, data, and the process package are correct. If the print record shows liquid level fluctuation, troubleshoot the liquid level first instead of changing the exposure only.
If the scraper has no resin, open the vacuum pump in the software, check whether the scraper contacts the resin surface, increase the vacuum negative pressure target within the allowed range, inspect the tube for blockage, and check whether the vacuum box leaks.
Surface defects like “zits”, bubbles, or small blobs can ruin the aesthetic finish of a model.
Cause:
It is usually caused by trapped air in resin, dust contamination, dirty optical lenses, or inconsistent layer curing. Over-curing can also exaggerate surface defects.
Solution:
Filter resin before printing and clean the build platform. When cleaning optical parts, use only proper optical cleaning materials and wipe gently in one direction. Do not use rough cloth, excessive force, or random wiping motions, because scratches can permanently affect the optical path and print quality.
Controlled post-processing also improves final surface quality.
Weak internal structure happens when hollow or partially filled parts collapse or deform.
Cause:
Weak internal structure is often related to unsupported islands, cup-shaped cavities without holes, large hollow sections without drainage, support parameters that are too soft, or poor bonding between supports and the part body.
Solution:
Check the support design before printing. If isolated areas appear, manually add supports. If the model includes cup-like geometry, add holes to reduce suction and trapped resin.
If supports or the solid body feel too soft after printing, adjust support settings and review filling speed or laser parameters according to the validated process package.
Gaps appear when parts of the model are missing, or layers fail to connect properly.
Cause:
The cause is often inconsistent exposure, suction forces inside the vat, or incorrect model orientation. Resin flow restrictions can also contribute.
Gaps can also be caused by liquid level instability, bubbles or impurities, or dirty sensor surfaces.
Solution:
To solve this, adjust orientation to reduce suction, improve exposure consistency, and ensure vat film is in good condition. Proper slicing strategy reduces internal stress during printing.
Check the liquid level record in the software. If the liquid level fluctuates, inspect whether the part has large cup openings or flat surfaces, clear bubbles, and impurities near the sensor detection area.
Sometimes, fine details or thin walls on a model simply disappear during the slicing process.
Cause:
This happens when resolution settings are too low, exposure is not fine-tuned, or post-curing causes shrinkage. Very thin geometries are especially sensitive.
Solution:
Increase resolution settings and reduce aggressive post-curing. Before printing high-detail parts, simulate the data to confirm that all fine features and supports are present. If small walls or features are dimensionally inaccurate, print a calibration part and review the X/Y scale and light spot compensation.
For very small details, avoid excessive cleaning soak time and avoid overheating during curing. Fine features should be placed and supported so that they do not deform under cleaning, gravity, or curing stress.
The first step is to carefully observe what the print is showing:
Most 3D printing issues are solved by leveling the bed, cleaning the surface, and drying the material. A structured troubleshooting process makes it much easier to identify the real source of the problem.
For more serious printing issues, contacting the manufacturer will be helpful.
Sometimes recurring 3D printing faults are not caused by settings alone. Machine stability also plays a major role. For industrial users who need consistent accuracy and reduced downtime, choosing professional-grade equipment is essential.
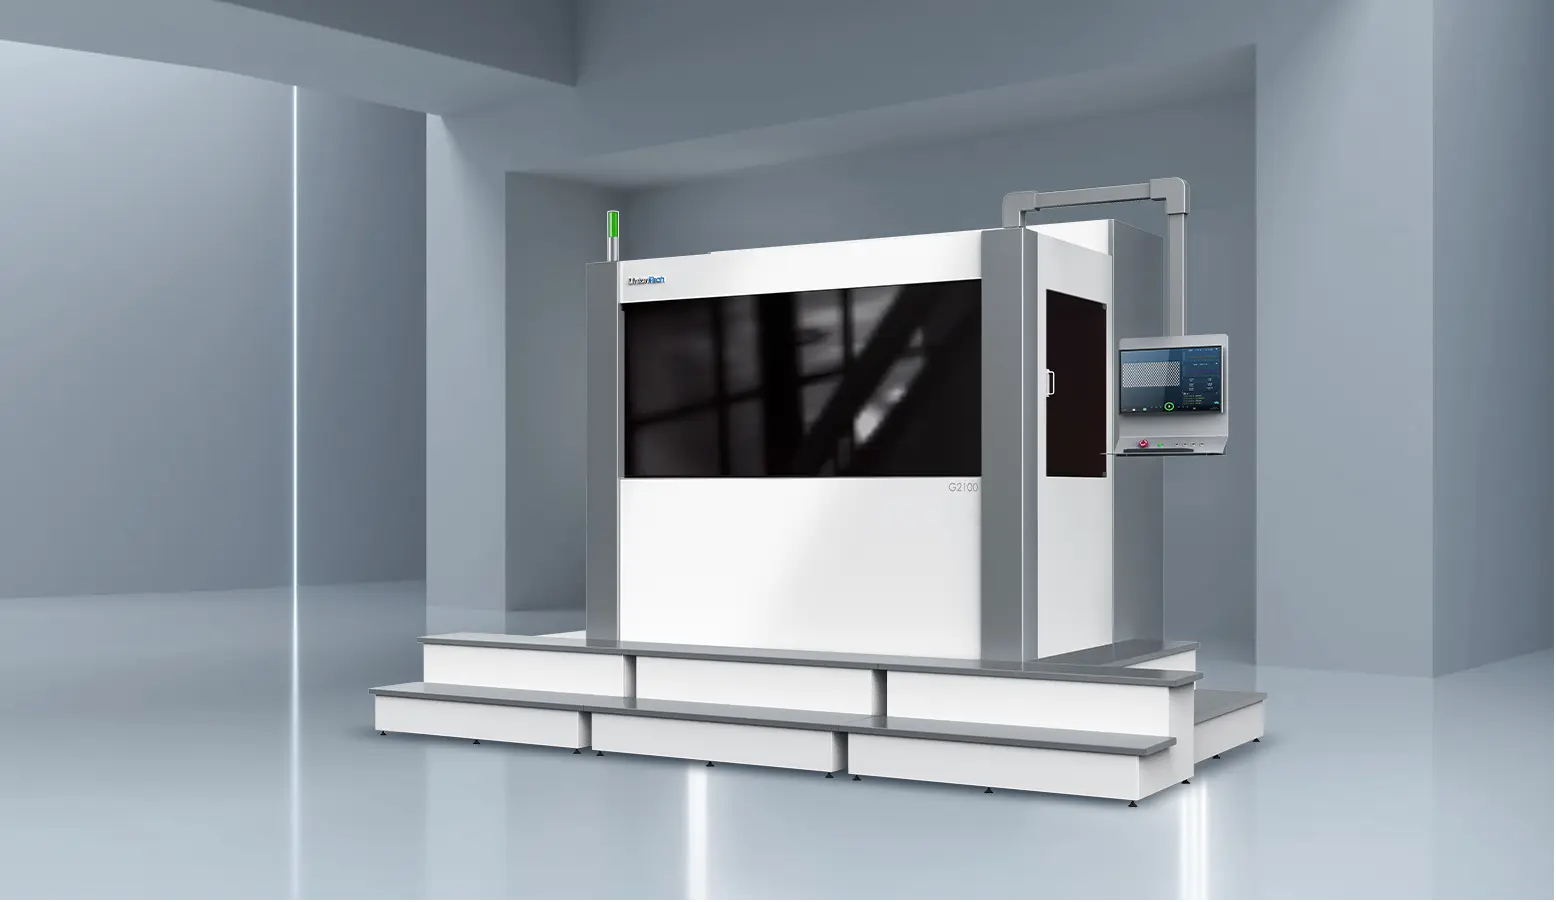
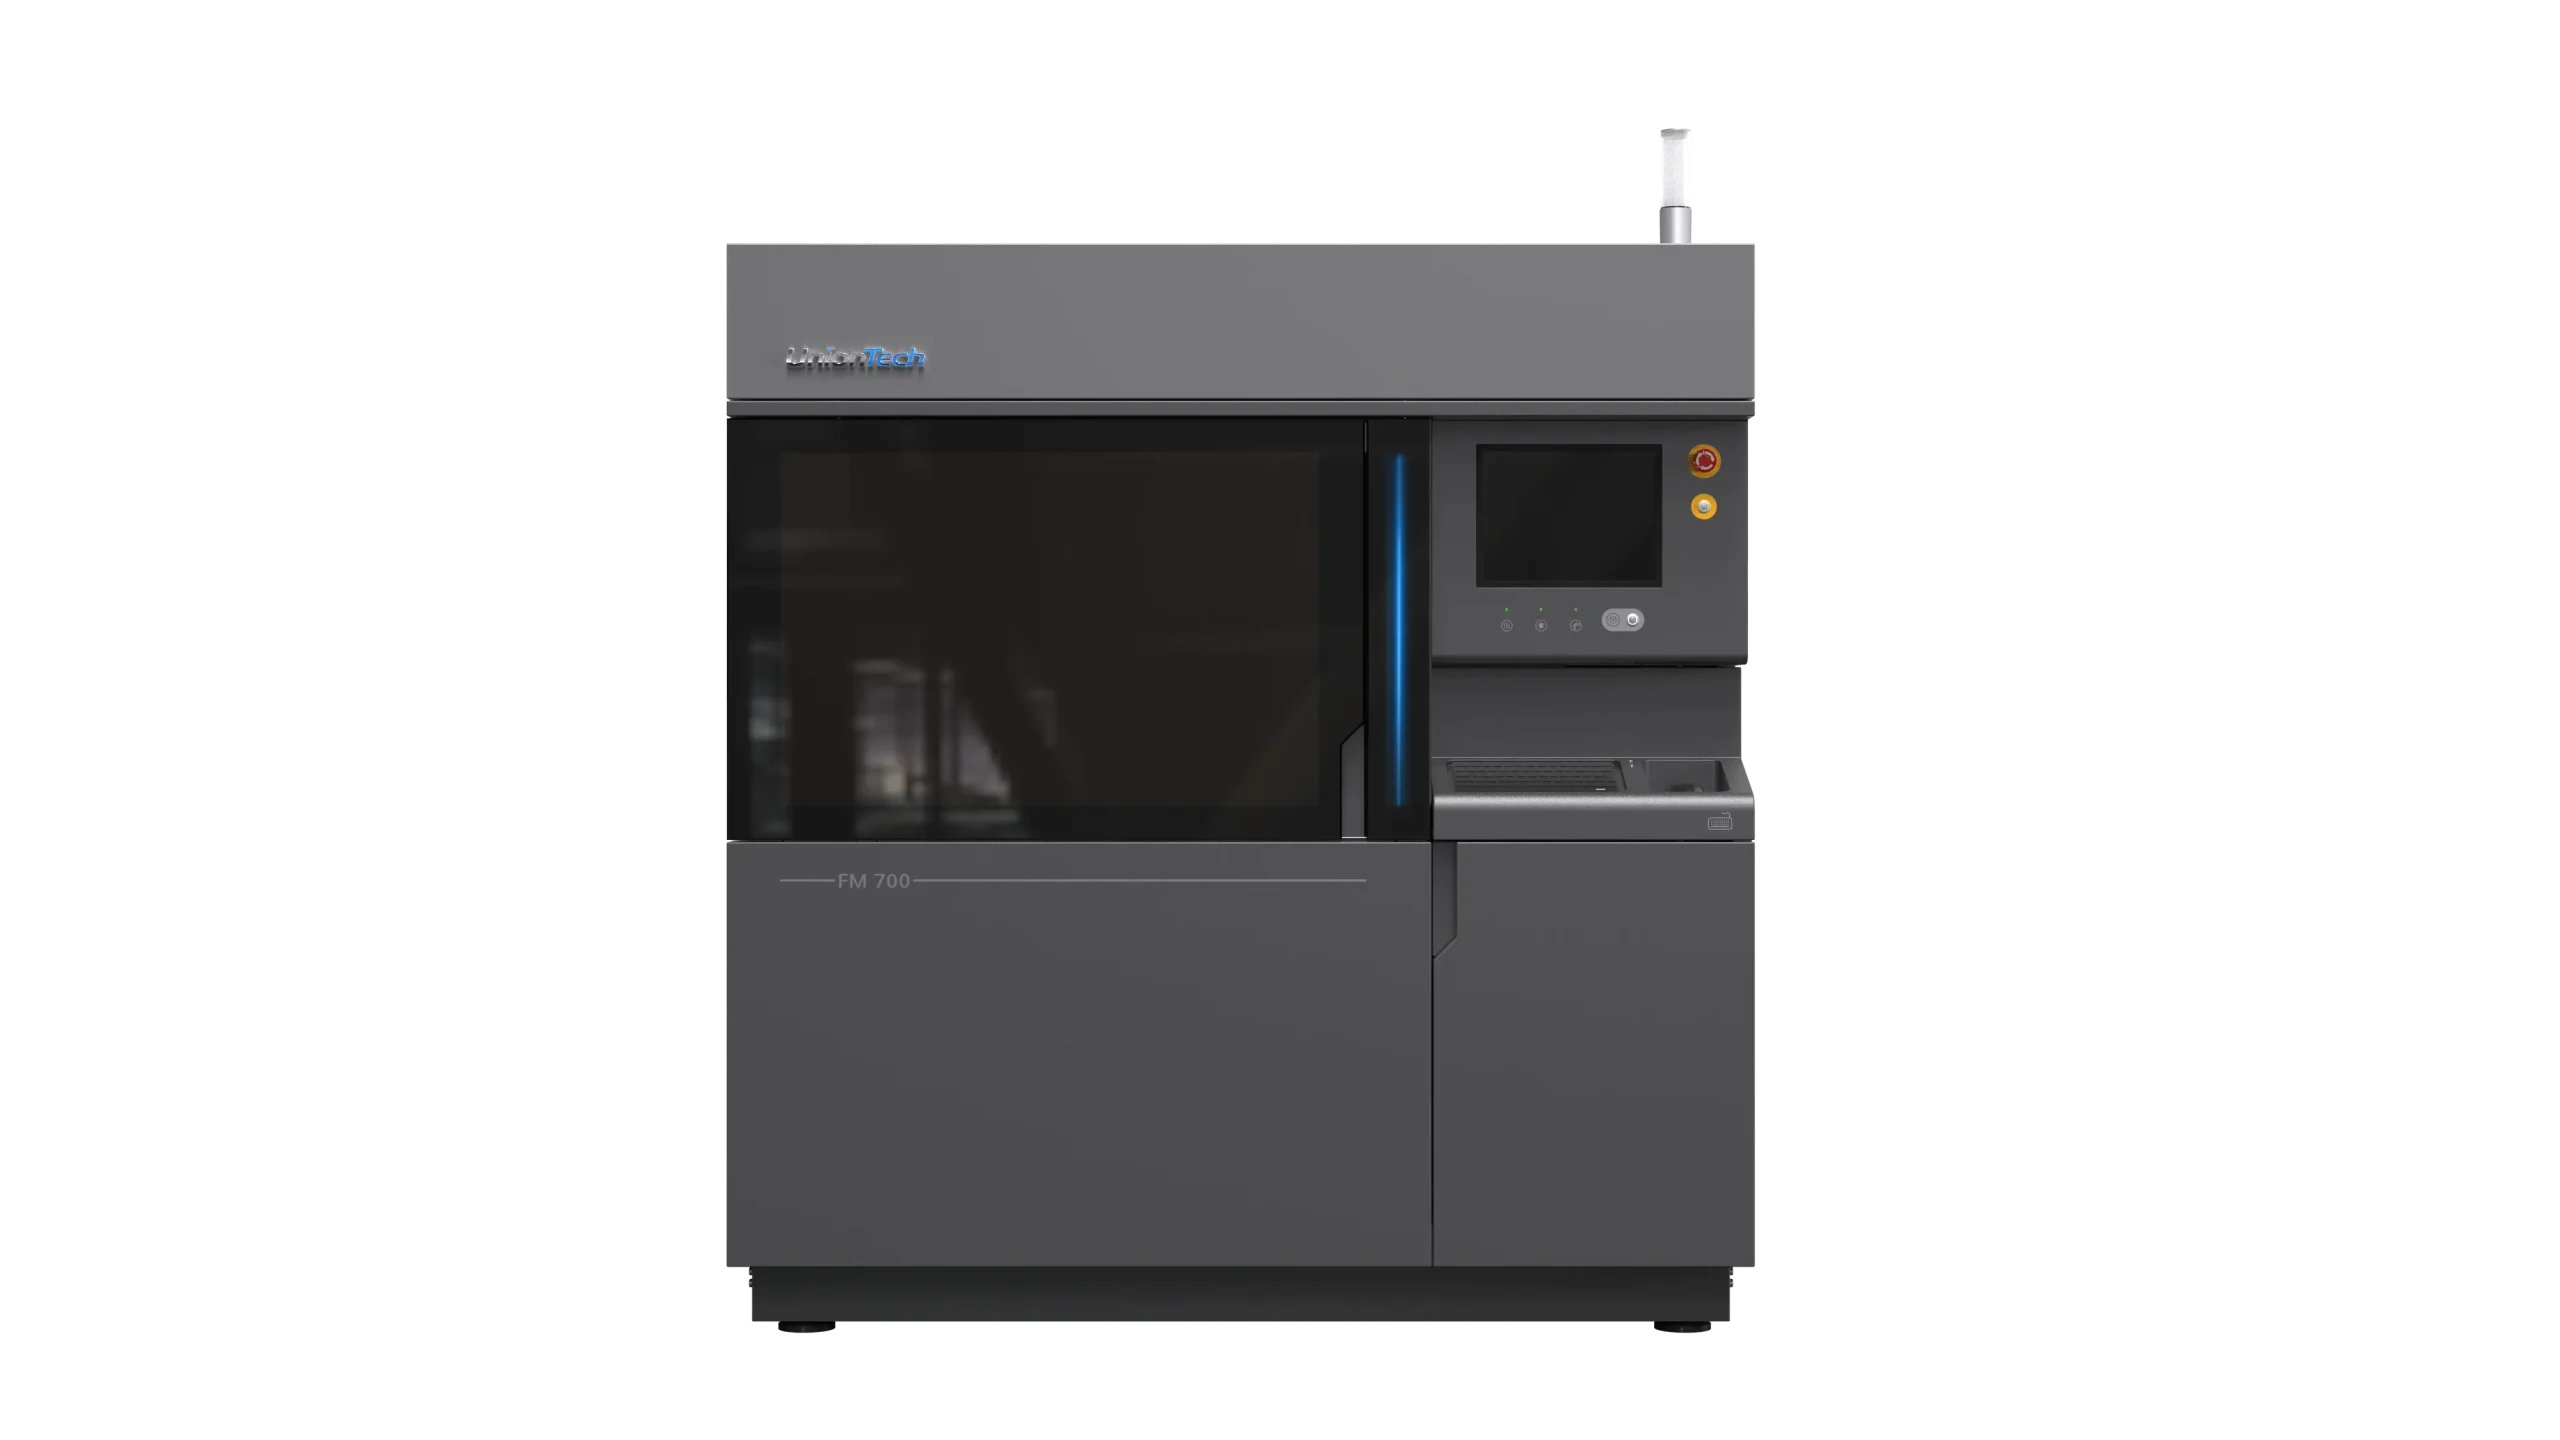
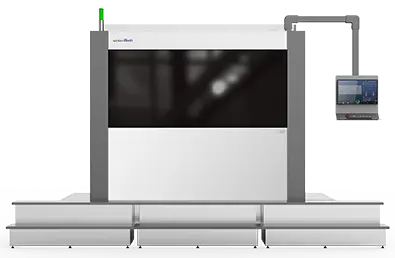
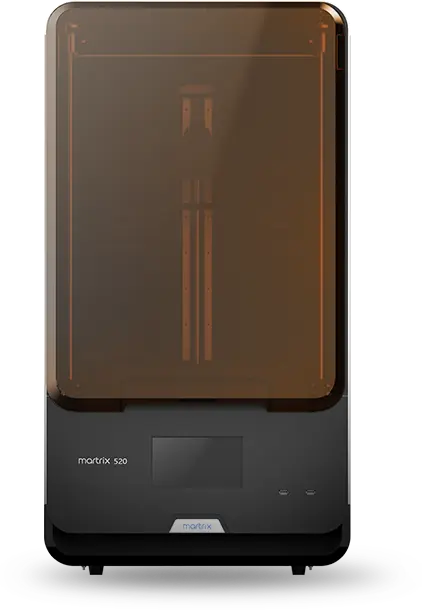
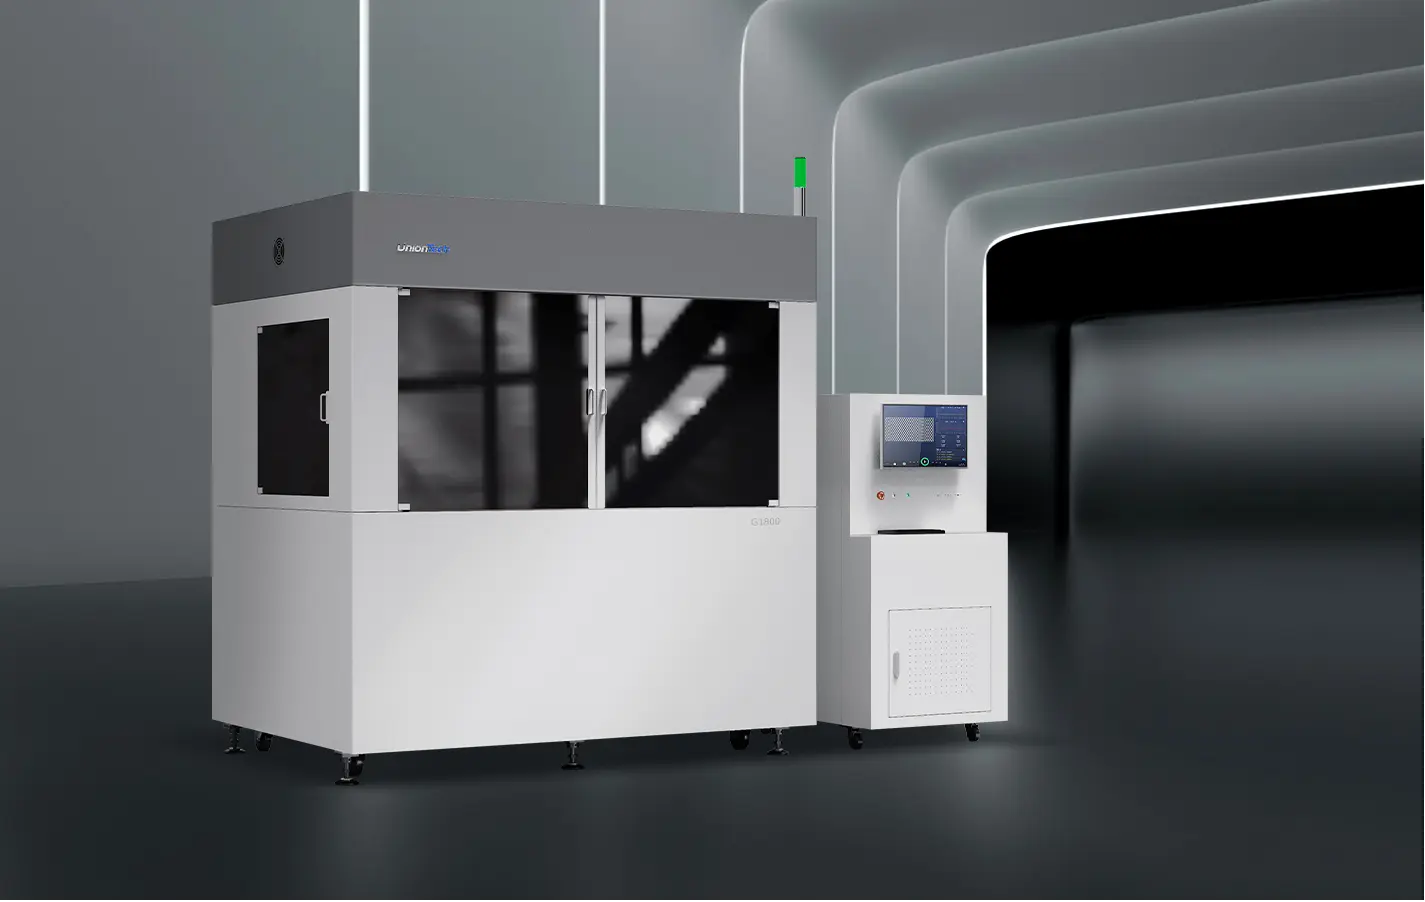
UnionTech is an experienced manufacturer of industrial 3D printing systems, known for its expertise in SLA technology. Their printers are designed for demanding applications such as:
UnionTech machines offer advantages such as stable laser or light performance, precise motion control, and reliable resin processing. These help reduce common 3D printing problems and improve overall production consistency.
If you have any industrial 3D printing needs, feel free to contact us!